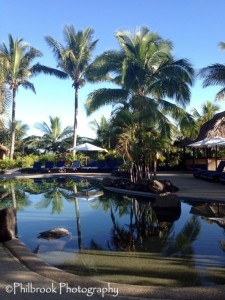
Pool at Wananavu Beach Resort
Fiji has been called the “soft coral capitol of the world” and after our group of 15 divers spent two weeks there, we can all see why! Our adventure began on the northern tip of Viti Levu island in the area known as Wananavu. Home to the famous “Bligh Waters”, Wananavu is one of Fiji’s best and well-known dive destinations. After an 11 hour flight from Los Angeles and a comfortable 2.5 hour bus transfer, we arrived at Wananavu Beach Resort.
Our experience at Wananavu Beach Resort was amazing! Like most Fijian resorts, we had bure-style rooms (pronounced booh-ray) which were nestled in a lush hillside overlooking the turquoise blue Bligh Waters. The bures are cabin-like, clean, and inviting. Each had a good sized bathroom, a sitting area with a small table, AC, mini bar, optional Wi-Fi, and a private deck offering a lovely view of the ocean and the manicured gardens.
Our all-inclusive package at the resort included three meals a day. The food was amazing! The restaurant offered plenty of options with a breakfast buffet, two course lunches, and three course dinners with a bit of an Indian flare. The menu included outstanding fish, seafood, lamb, beef, and chicken choices as well as vegetarian entrees while delivering huge portions that we were rarely able to finish! And desserts, let’s just say YUM!

Anenomee fish on top of pinnacle
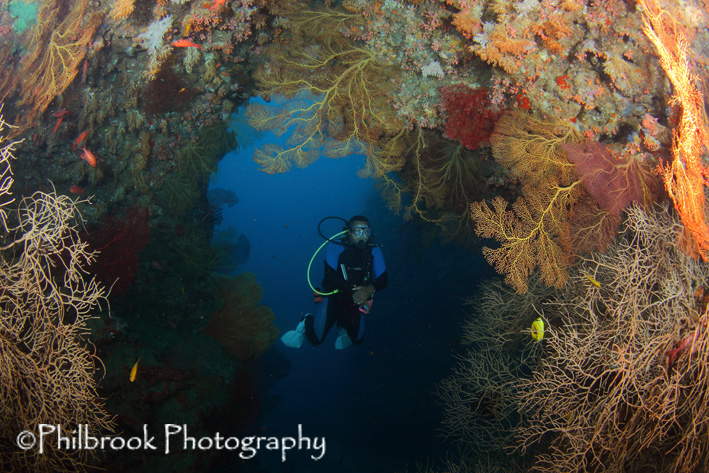
Although the resort caters to divers and non-divers alike, we could tell from the moment we ventured down to the dive shop that the dive operation was well run. With an impressive compressor building offering Nitrox and a protected harbor with docks for easy boat access, this place was setup for easy and organized diving. Our dive guides, the “Wananavu Dive Boys”, were outstanding! They had detailed knowledge about the dive sites and were very professional and personable. But what impressed us the most about these fellas (and one lady guide) was their genuine love for diving! Despite the length of time they have been diving those waters, they still have a passion for the sea and creatures in it! Their constant smiles and camaraderie were refreshing and encouraged a relaxing, safe, and enjoyable time on the dive boats.
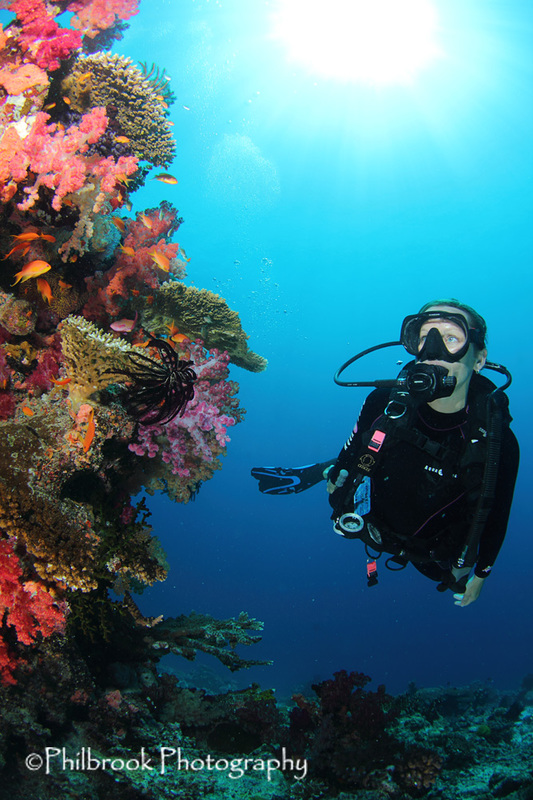
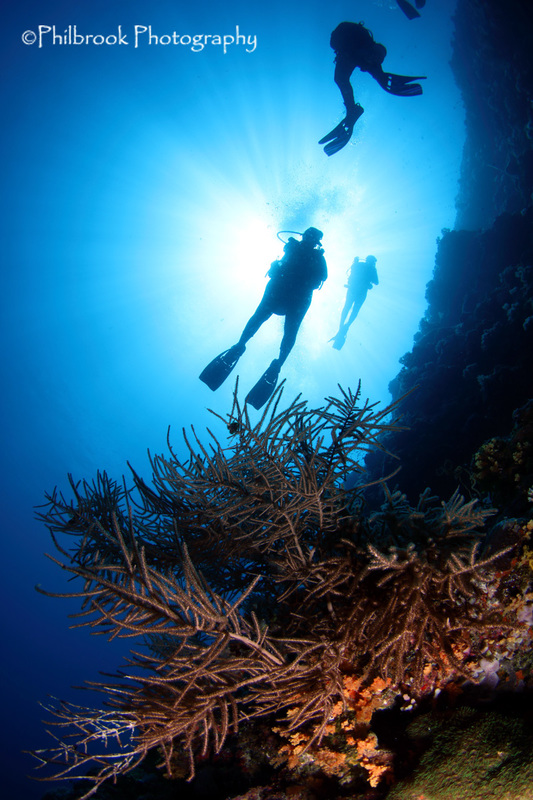
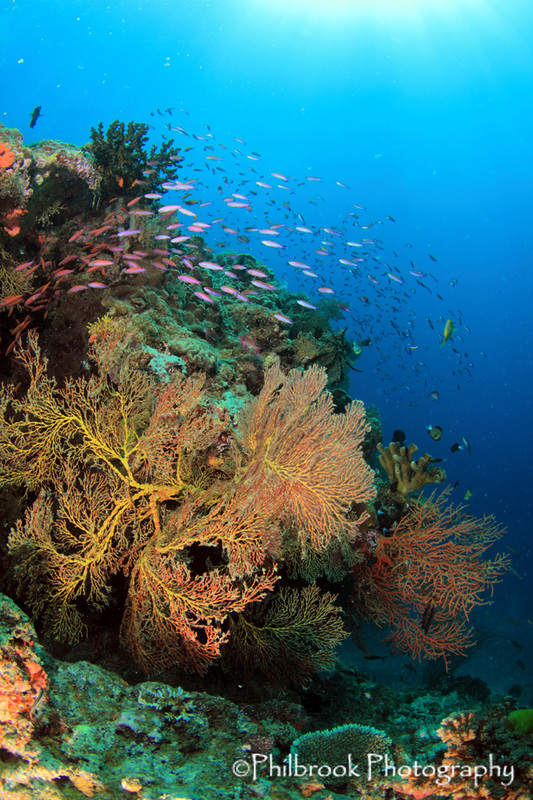
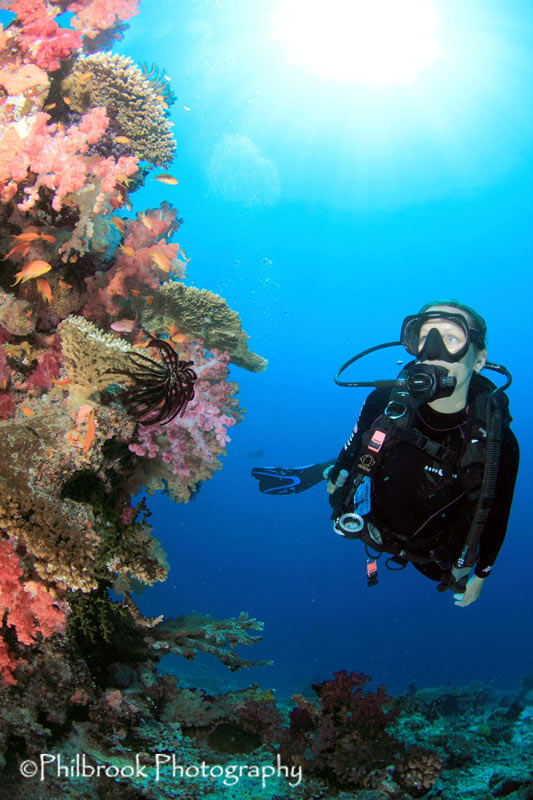
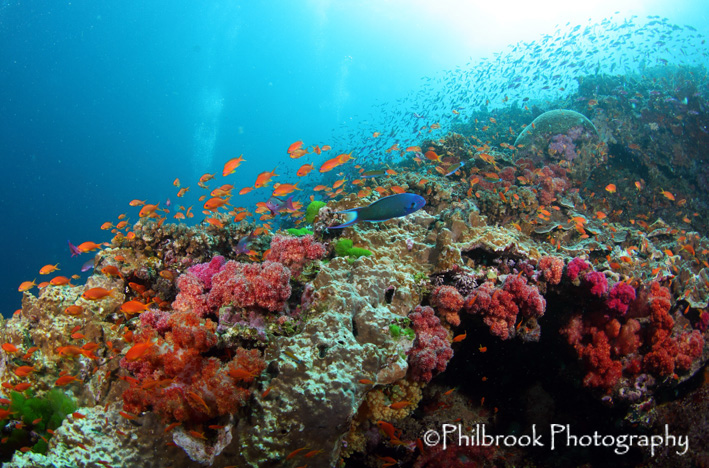
How was the diving? It was everything we hoped it would be! Wananavu serviced three reef system. The close reefs (sheltered and close to the resort), the Midreefs (about a 30 min boat ride), and the Bligh Waters (up to an hour trip each way). Weather cooperated and we did all of our boat diving at the Midreefs and Bligh Waters. Both offered sites that were breathtaking and great for wide angle, portrait, and macro photography! Most of the diving off Wananavu is pinnacle diving. Water temp was 82 degrees but can vary depending on the time of year you visit. There is also unlimited shore diving available. Nitrox is available either by the tank or unlimited weekly. The house reef has a wall that drops to 40′ and is best done on the incoming tide for better visibility. The vis on the shore dives is neither great nor is the ‘reef’, but it is a good place to hunt for small critters and work on your macro shots. Here are some of the “must see” dive sites.
Wananavu “Must Do” Dive Sites
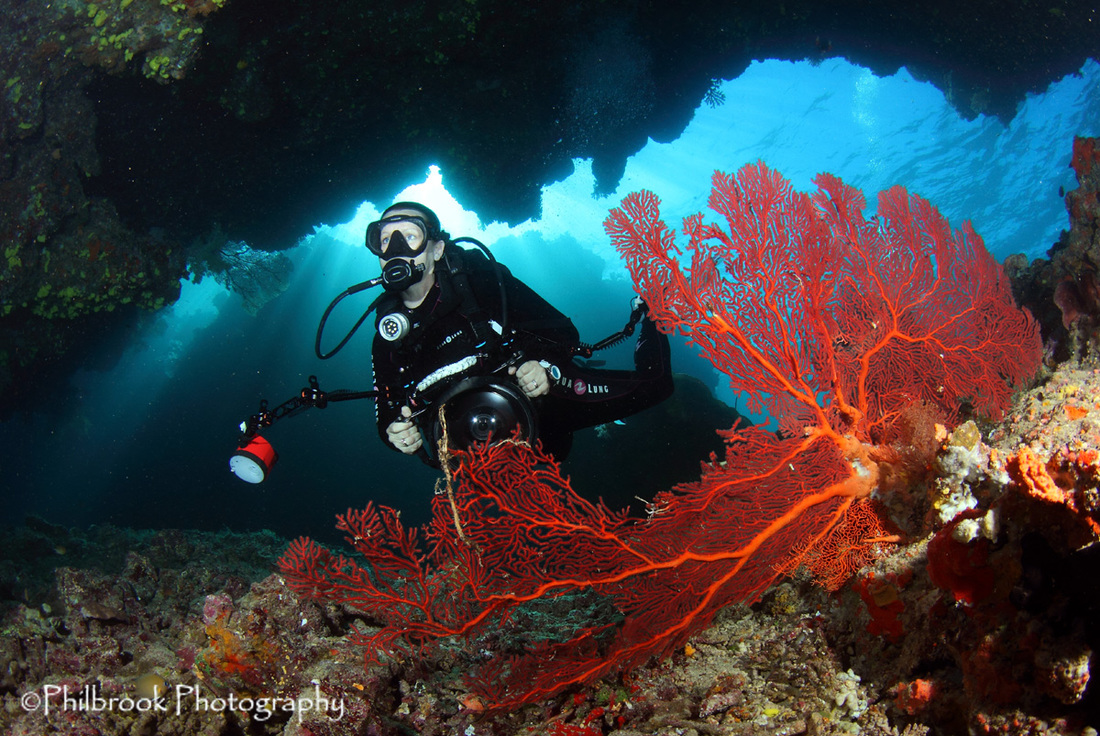
Jolene in cathedral at E6
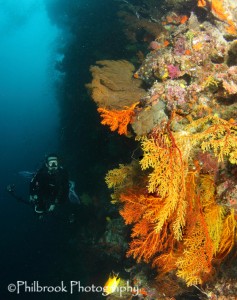
E6 – E6 is located in the Bligh Waters and was given the name for all the slide film photographers that would shoot here. Several swim-thru’s allow the sun’s rays to shimmer down through openings at the top of the pinnacle. There are a number of mountainous sea fans throughout the site and stunning color pops out everywhere! With occasional sharks cruising by and plenty of reef fish, it was one of our groups favorite sites of the week.
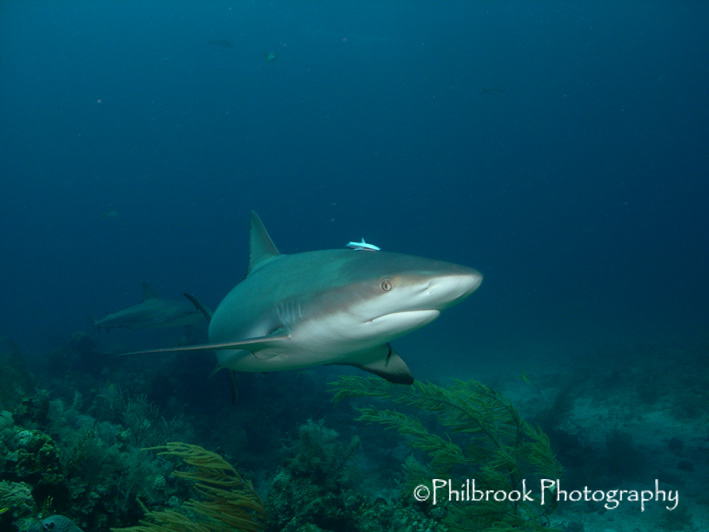
Mount Mutiny – Impressive pinnacle with tons of soft coral. A number of sharks were seen at this dive site. Grey reef sharks, white tip reef sharks, as well as hammerheads. Oceanic whitetip sharks can be seen here as well. Located in the Bligh Waters. Currents can be strong.
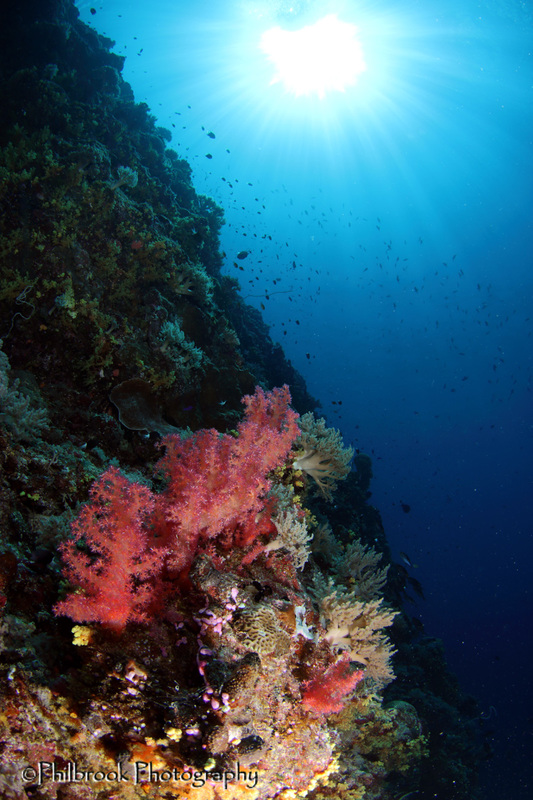
Soft coral at Mellow Yellow
Mellow Yellow – Another Bligh Waters pinnacle site. The name says it all! Adorned with glowing yellow and orange soft corals, abundant fish life, and some strong currents.
The Wheat Fields – A midreef site and we enjoyed it most as a dusk/night dive! This is a great site to see gobs of fish. As the sun goes down, the reef transforms and the fish go wild! We were surrounded by schooling fish flashing through the waters for the entire dive. The top of the pinnacles resemble a wheat field with soft wheat-color corals swaying in the water. Mantas can be seen here as well.
Pernilla’s Rock – A midreef site with great underwater topography! It’s huge sea fans and picturesque swim-thrus make it an ideal spot for wide angle photography. The top of the pinnacles are laden with schools of fish!
Beqa Lagoon
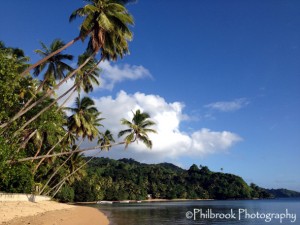
Beach at Beqa Lagoon Resort
Our exit from Wananavu was sweet. The Wananavu Dive crew serenaded us with the Fijian farewell song as we boarded our bus for a 4.5 hour bus transfer to Pacific Harbor at the south end of the island. There we caught a 45 minute boat transfer to the island of Beqa!
Beqa Lagoon Resort is an amazing and remote get-away with a more exotic feeling compared to Wananavu. There are no roads or vehicles on the island and its beautiful beaches and landscape beckon relaxation and serenity! We were greeted by the entire staff standing on the shore singing a Fijian welcome song, flower leis, and plenty of happy Fijians!
Our oceanfront bures were large, very private, and beautiful! Each bure has a private yard, a personal dipping pool on a large deck, hammock, lounge chairs, and a fantastic view of the beach and lagoon. The bures are spacious with an oversized sitting area including couches, coffee table, and mini bar. Optional WiFi is available throughout the resort. One of the best ‘topside’ extras is their onsite spa! The ladies give the best massages! Exploring Beqa is also a must – there is a village and a school tour that both offer an opportunity to meet the locals and learn more about the beautiful Fijian people and their culture.
Our all inclusive package included breakfast choices, a two course lunch, and three course dinner. The fare is of Fijian influence and each day you have a good choice of options to choose from. The kitchen also accommodates special requests and we all were well fed again!! The daily happy hour specials, kava rituals, and nightly local entertainment were a perfect way to end our days!
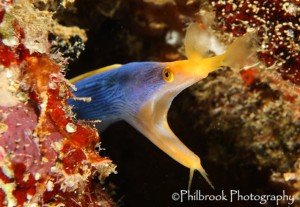
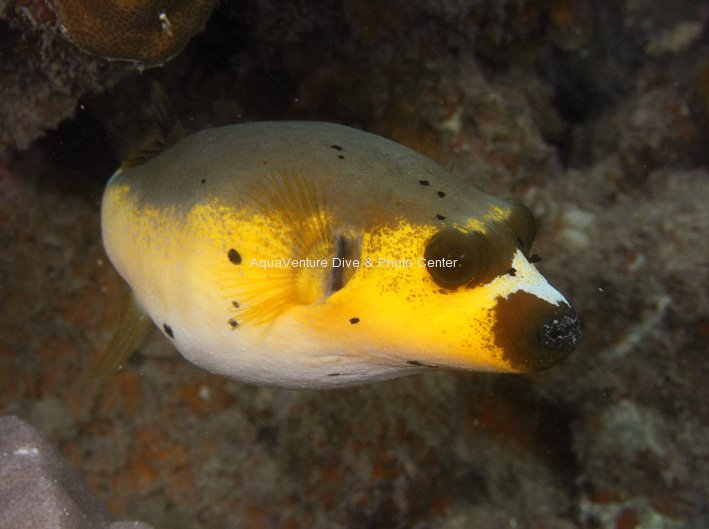
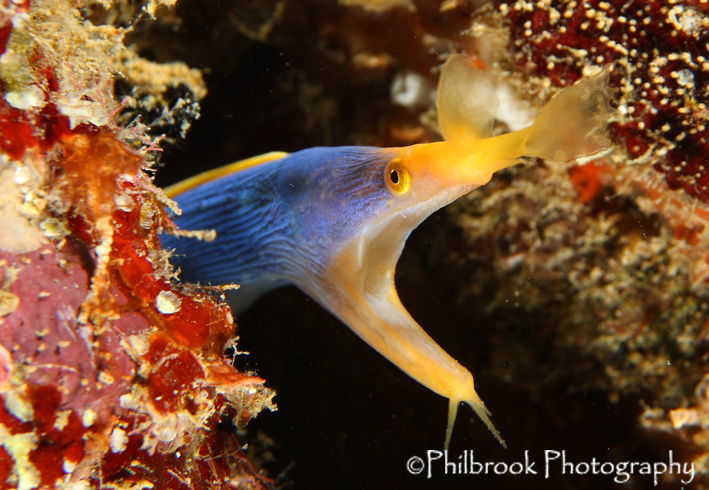
Blue Ribbon Eel
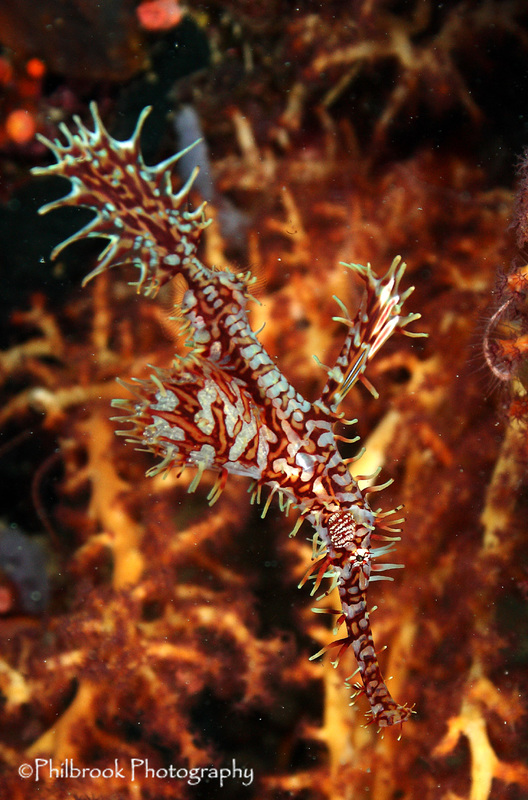
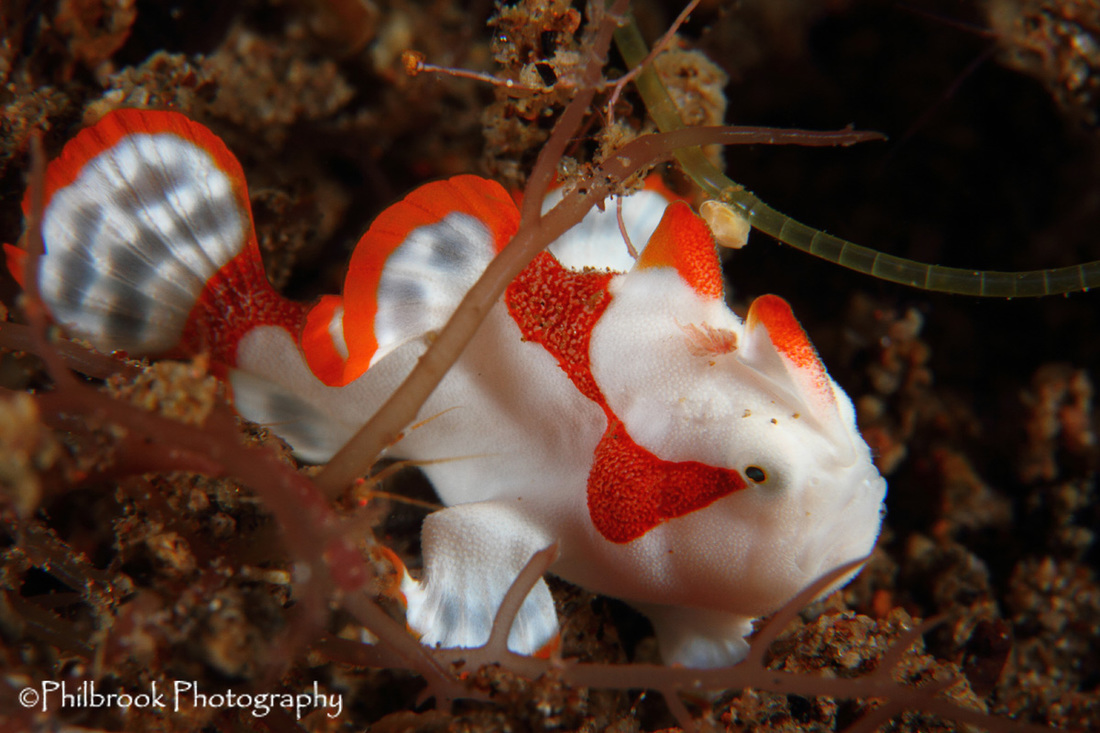
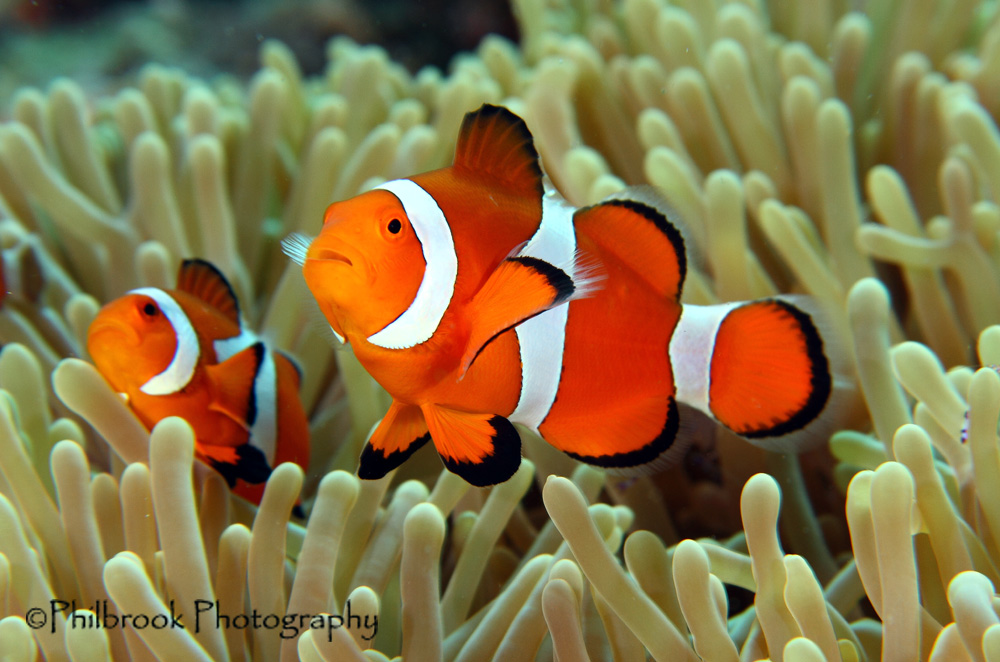
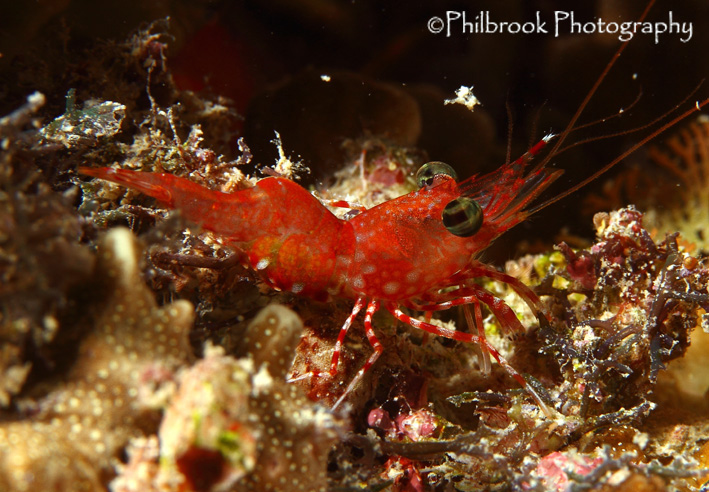
On to the diving…Beqa is similar to Wananavu in some ways with many pinnacles to explore. However, there were more shallow bommies offering a wider variety of reef topography. Once again, the soft corals were absolutely stunning! The shore diving offers a house reef with the best visibility on the incoming tide. If you hit the shore dive at the right time, you can expect up to 20 foot vis. The reef is loaded with anemone fish and nudibranchs. You can also see cuddlefish, juvenile white tip reef sharks, turtles, and more. We were pleased to find out Nitrox is now available in Beqa and can be purchased by tank or unlimited for the week.
Our dive guides were local and very accommodating! As in Wananavu, they had full knowledge of the dive sites and where the critters can be found. They were personable and loved to answer our questions about Fijian culture and traditions. Some of our favorite memories were hearing the dive team singing Fijian songs from the front deck of the boat on our way back to the resort after a full day of diving. The dive operation is in the process of some changes to make the diving even easier for photographers. Although we have no complaints at all and we had the time of our lives, the new photo center and other plans the management has in store will be exciting to see develop in the coming months.
Beqa “Must Do” Dive Sites

Dive guide at Fantasy
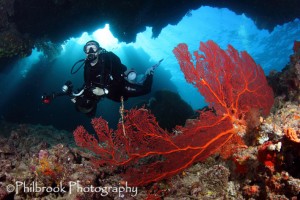
Fantasy – This was one of the prettiest dive sites we’ve encountered! Massive sea fans litter this site virtually everywhere. Enormous fans randomly grow out of the sea floor. There are swim-thoughs draped with sea fans and soft corals. Large schools of fish pass over and around the pinnacle. On top of the pinnacle we encountered large red anemones that housed hoards of anemone fish. Leaf scorpionfish can be seen here as well.
Carpet Cove – This site is appropriately named for its carpet-sized anemones. The top of the bommies are loaded with them and it is a site you will not forget! Photographers can shoot wide, portrait, or macro. The darting fish life and variety of species is incredible.
Bistro – Aptly touted as one of the world’s best shark dives, Bistro delivers! This dive not only has up to seven species of sharks but the fish life here is nothing short of mesmerizing! At times it’s impossible to see the feed through the fish frenzy. The sharks however, are the main attraction with the chance of seeing huge bulls, whitetip reefs, grey reefs, nurse, silvertips, lemons, and even a tiger shark – if your lucky! After the feed is complete, divers get a chance to hang out, explore the area, and watch the sharks circle around.
Farewell Fiji!
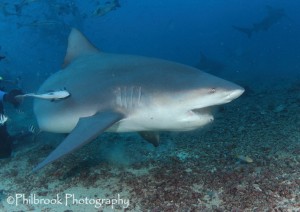
Bull shark at Bistro
Once again, we departed the resort surrounded by the staff singing the Fijian farewell song to us as we took our boat transfer back to Pacific Harbor for a 2.5 hour bus transfer to Nadi. We opted for a day room at International Hotel close to the airport. This was a great way to spend our 5 hour wait lounging by their pool and showering before heading to the airport to catch our flight home. The flight was an easy 10 hours to LAX giving us plenty of time to dream of the day we can return to these destinations.
Fiji is the real deal. We will be back! These are some of the healthiest reefs we have seen in the world. If you are a photographer, you can shoot ALL types of photography on almost every dive. Macro, portrait, or wide – each site has an overwhelming amount and variety of coral and fish life to capture. Fiji’s topside beauty, tours, and comforts draw out the calm and quiet in each of us. The Fijian people are full of joy and rich in traditions. Each resort was welcoming and far exceeded our expectations. We couldn’t have asked for a more perfect holiday! Vinaka vaka levu, Fiji! Until next time…
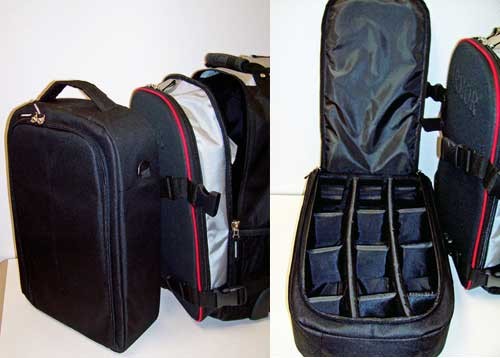
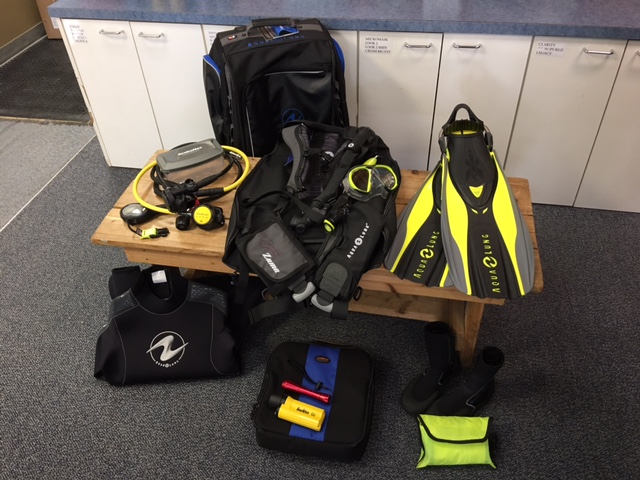 Lay your gear out
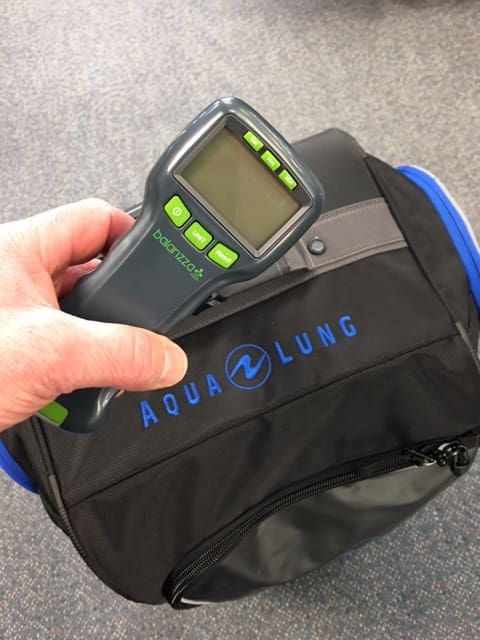 Pack light
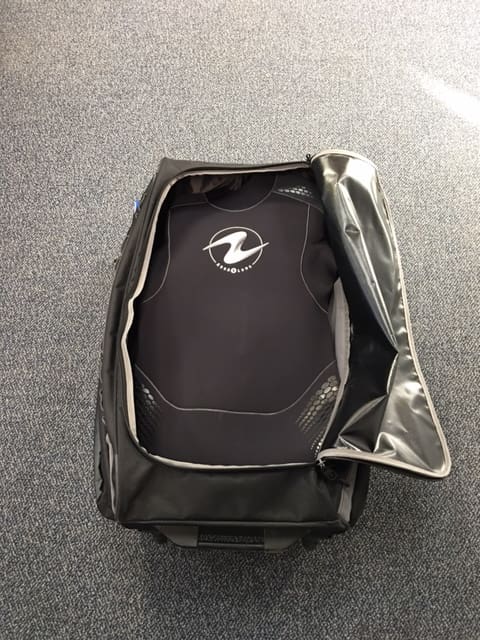
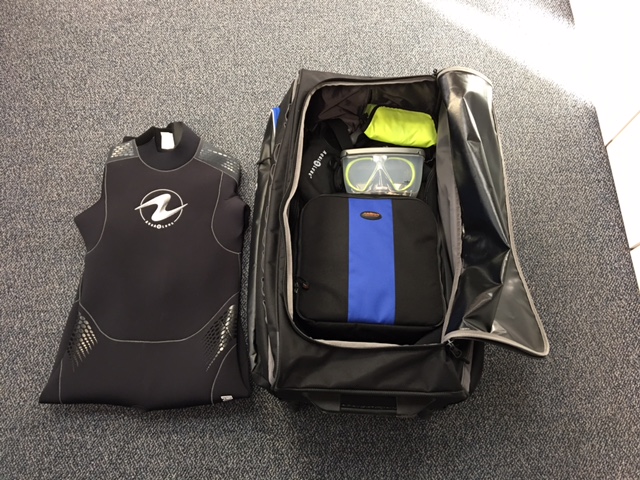 Here is the process how we pack our scuba gear.
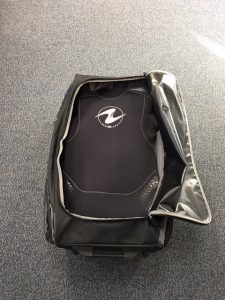 Wetsuit – Put your wetsuit over the top of everything else. This will add more padding for your gear.