Getting Started in Underwater Photography – Part 2
Change Your Perspective – Choosing the Correct Lens
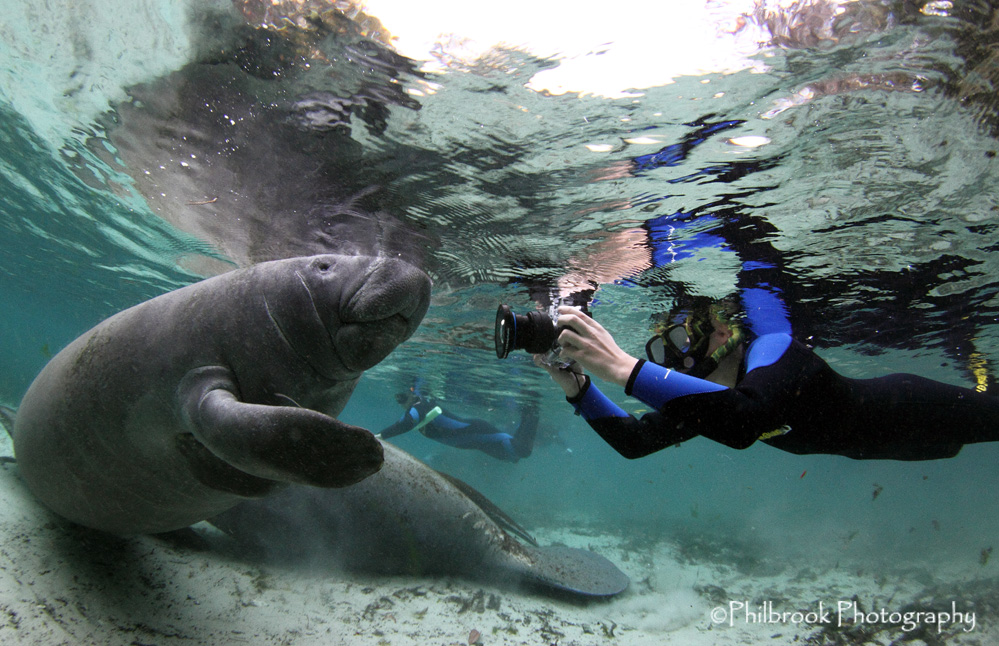
Congratulations for jumping into the amazing world of underwater photography! Starting out in this hobby can be exhilarating as you click away and log your memories of each dive. However, if you are like most new photographers, it is likely you have noticed that some photos look as you remember while other images lack the fascination and awe you experienced in the moment you captured the picture. This is due to perspective. Your camera’s built-in lens is adequate for certain subjects but not for everything. This article will help you understand how to select the proper lens for the type of subjects you wish to photograph so you can capture those breath-taking moments! It’s time to get the most out of your camera!


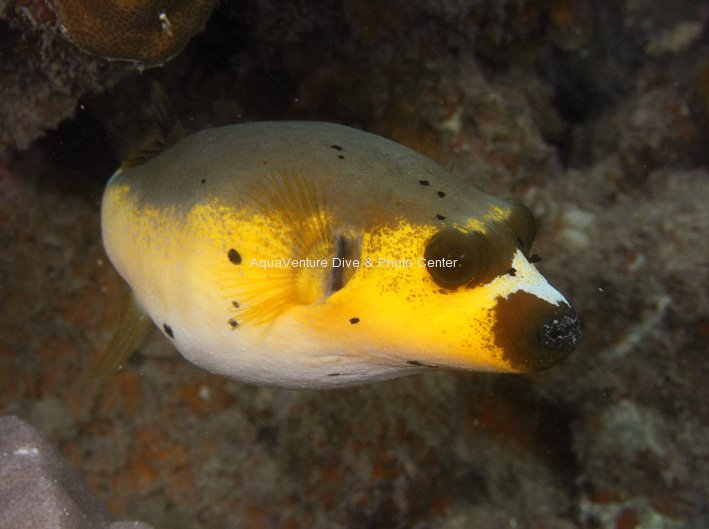
Puffer shot with the master lens
The Master Lens
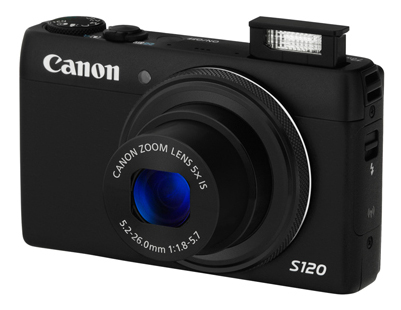
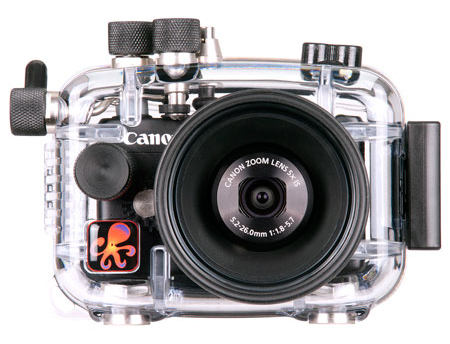
The master lens is the standard internal lens that comes with your digicam. This is an acceptable lens choice for shooting portraits of smaller fish size, head and shoulder shots of a diver, and some macro critters (when the camera is set to macro mode). When using this lens, the photographer should be within 2-3 feet of the subject being photographed. Staying close to your subject will help retain clarity, contrast, and color saturation in your image by keeping the water column to a minimum between your lens and the subject. The less water between you and your subject also keeps backscatter to a minimum. And as we all know, the less backscatter the better!
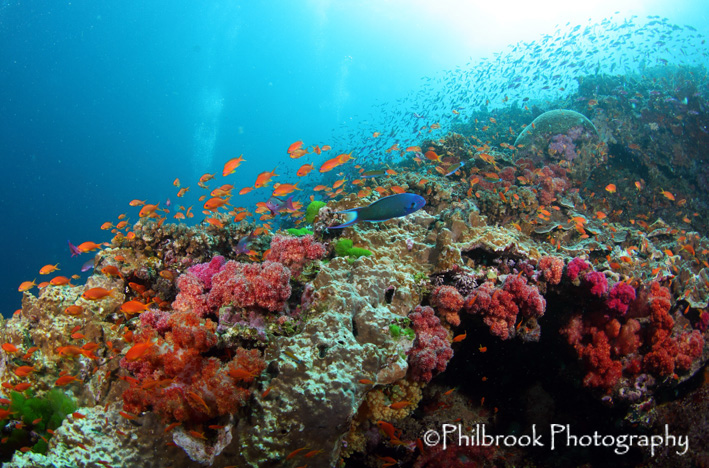
Reef scene taken with fisheye lens
Wide Angle
Seascapes and larger animals are often the most breathtaking subjects we can see in the underwater world. These subjects can also be the most difficult to capture. A common mistake new photographers make is attempting to capture these wide angle images by using the digicam’s master lens. Several things fall apart when doing this. It all comes down to perspective. The human eyes see the world with 180 degrees angle of view. However, due to refraction, our digicam’s master lens only sees at about 60 degrees angle of view when underwater (84 degrees on land). To compensate for the difference in our angle of view, we back up from the subject in order to fit it all within the frame. By increasing the amount of water between the subject and the lens, the image loses contrast, color, and detail. When we lose these, we lose the dramatic perspective that we first envisioned. The beauty of the point-n-shoot system is that we can correct this lost perspective by adding a wide angle lens to our camera housing.
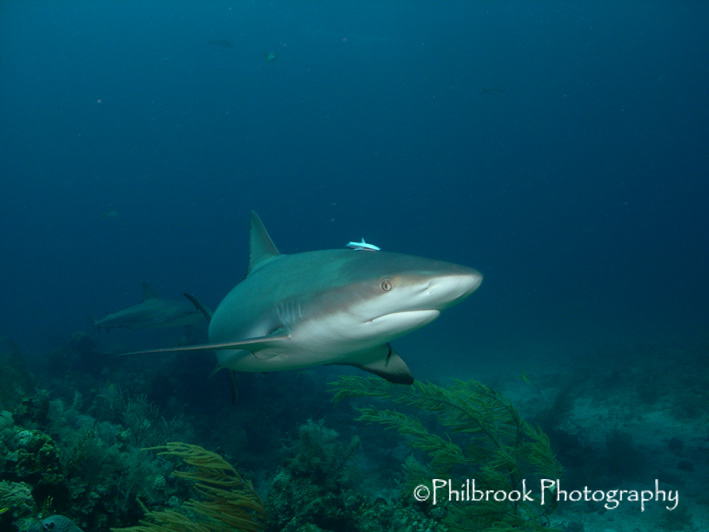
Shark taken with standard wide angle lens
Thanks to companies like INON, Fisheye, Ikelite, and Sea & Sea, there are many quality wet mount wide angle lens available today. There are two main types to choose from: Standard wide angle lenses (approximately 100 degree underwater angle of view) and fisheye or semi-fisheye lenses (around 150-170 degree underwater angle of view). Both style lenses have their advantages. Standard wide angle lenses are great for large fish photography, diver scene images, etc. Fisheye lenses are a better choice for shipwrecks, large pelagic fish, and seascape reef scenes. Once a wide angle lens is mounted on a digicam, both types of wide angle lenses allow focus from just a few inches away from your subject and can remain in focus to infinity. This allows the photographer to shoot dramatic close-focus wide angle images that retains the detail and beauty you long to capture.
Macro
Macro images are some of the most fun to shoot. There are endless amounts of crazy little critters on the reef and macro subjects scattered all over the sandy bottom. With a macro lens, you will never run out of subjects to photograph. As mentioned earlier, most master lenses can shoot macro critters in macro mode but greater detail, sharpness, magnification, and perspective can be achieved by adding a macro lens to your camera. Some of these lenses can also be stacked (adding two or more lenses on top of each other) to increase magnification which allows you to photograph the tiniest of animals – i.e. Pygmy Seahorses, minute crabs, various shrimp and more – these subjects can be as small as a piece of rice. Fun stuff!
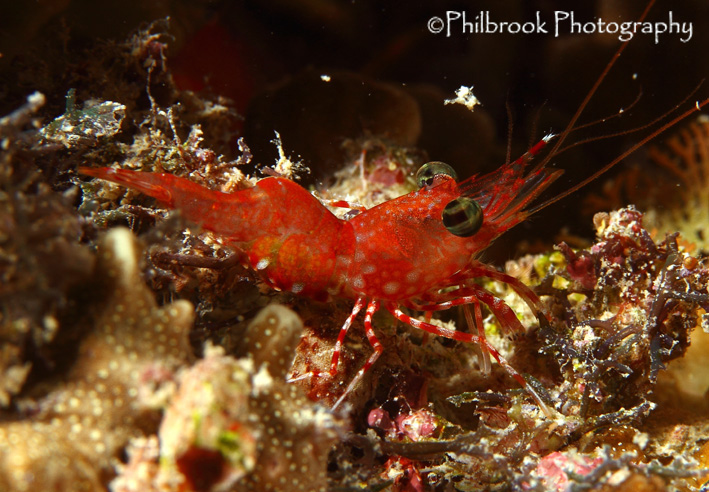
Shrimp taken with an external macro lens
The beauty of these point-n-shoot systems is that all of these lenses can be removed and interchanged underwater on a single dive! This gives you incredible subject flexibility on every dive by allowing you to have the right lens regardless of your subject.
So if you have experienced photographer’s frustration when using your master lens for every picture, there is no reason to give up now. The possibilities are endless when you add a lens or two to your camera system! If you have any questions on which lens options are available for your camera setup or if you have general underwater photography questions, feel free to call us Aquaventure Dive & Photo Center (763) 424-8717. We are happy to help!